An important subject I left out of the last tutorial - "What can I do with these blocks that I have created?". However, I wanted people to be comfortable with the nuts and bolts of the interface before I started going too wild with feature sets.
Note: This won't make much sense without first reading the initial Rabbit 101 Tutorial post that goes over the interface and Rabbit basics.
Note: This doc is a work in progress - please forgive any errors.
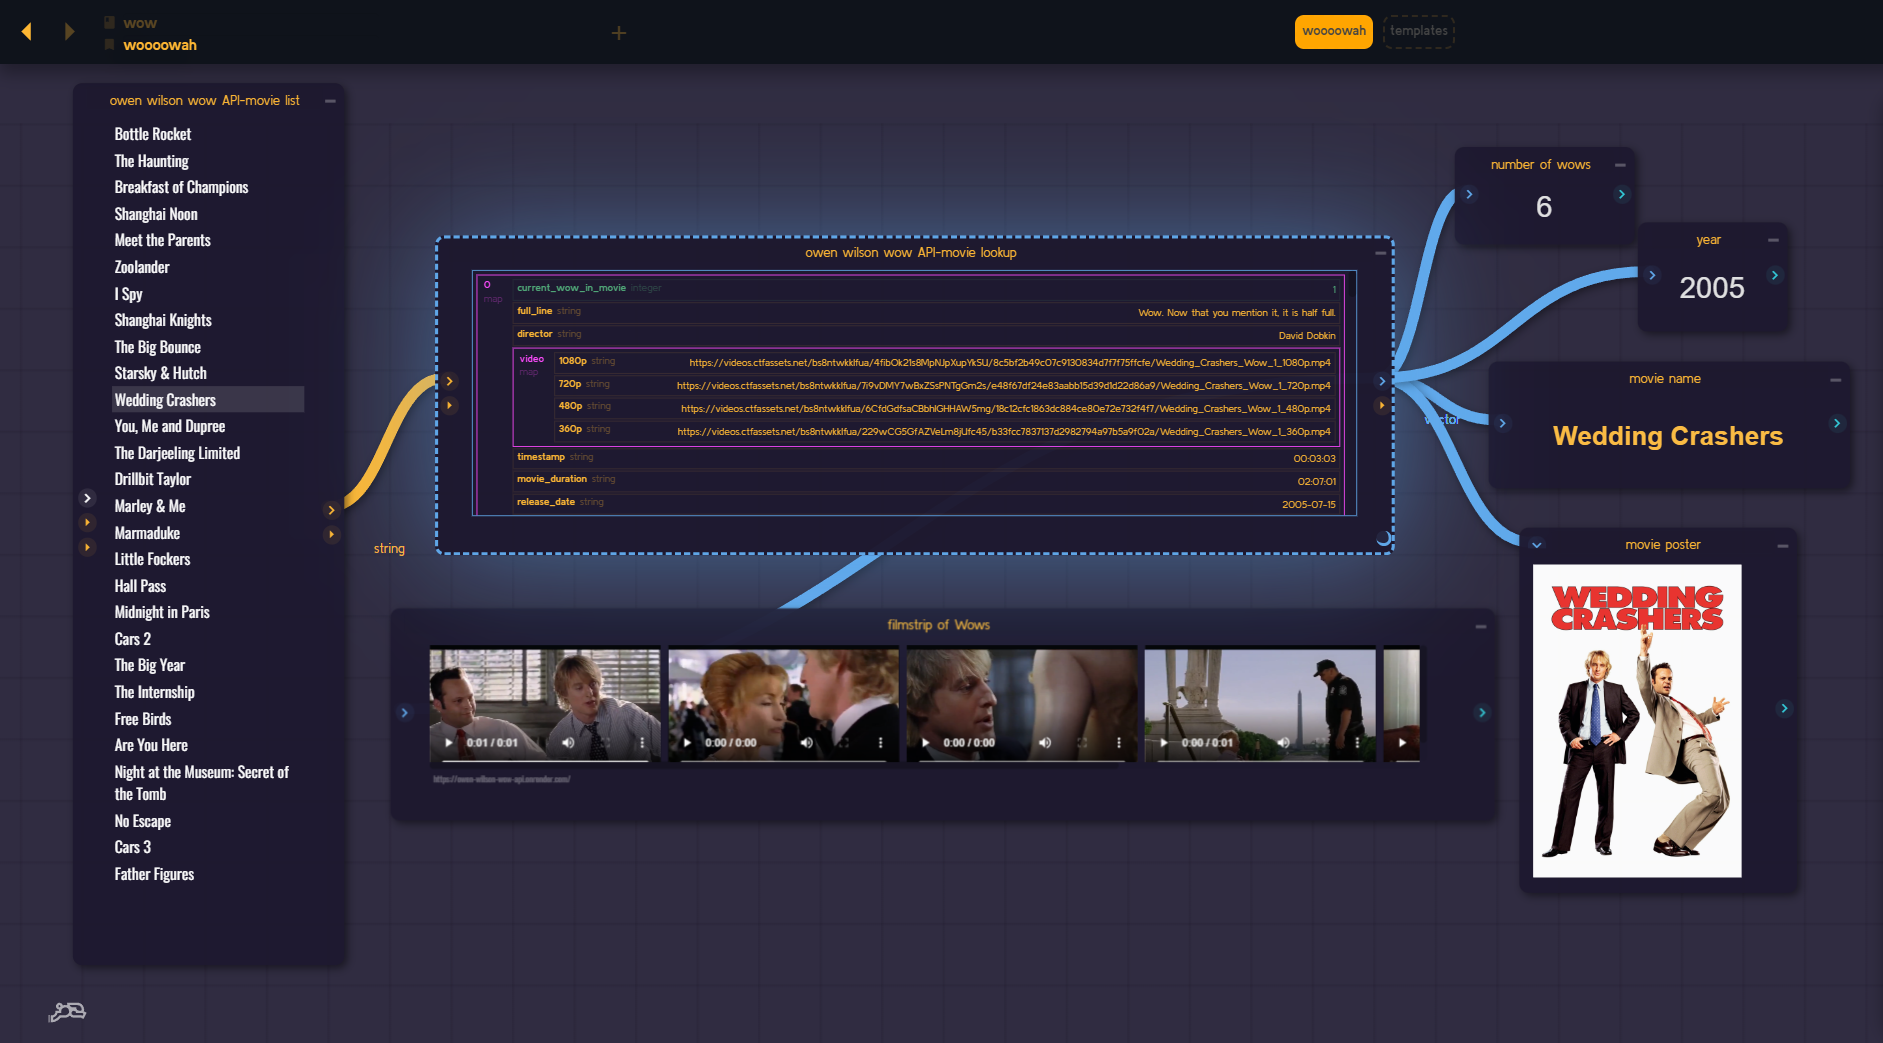
Let's use a mini-Rabbit flow "app" as an example. Here is a little flow I put together last year using the "Owen Wilson says Wow API".
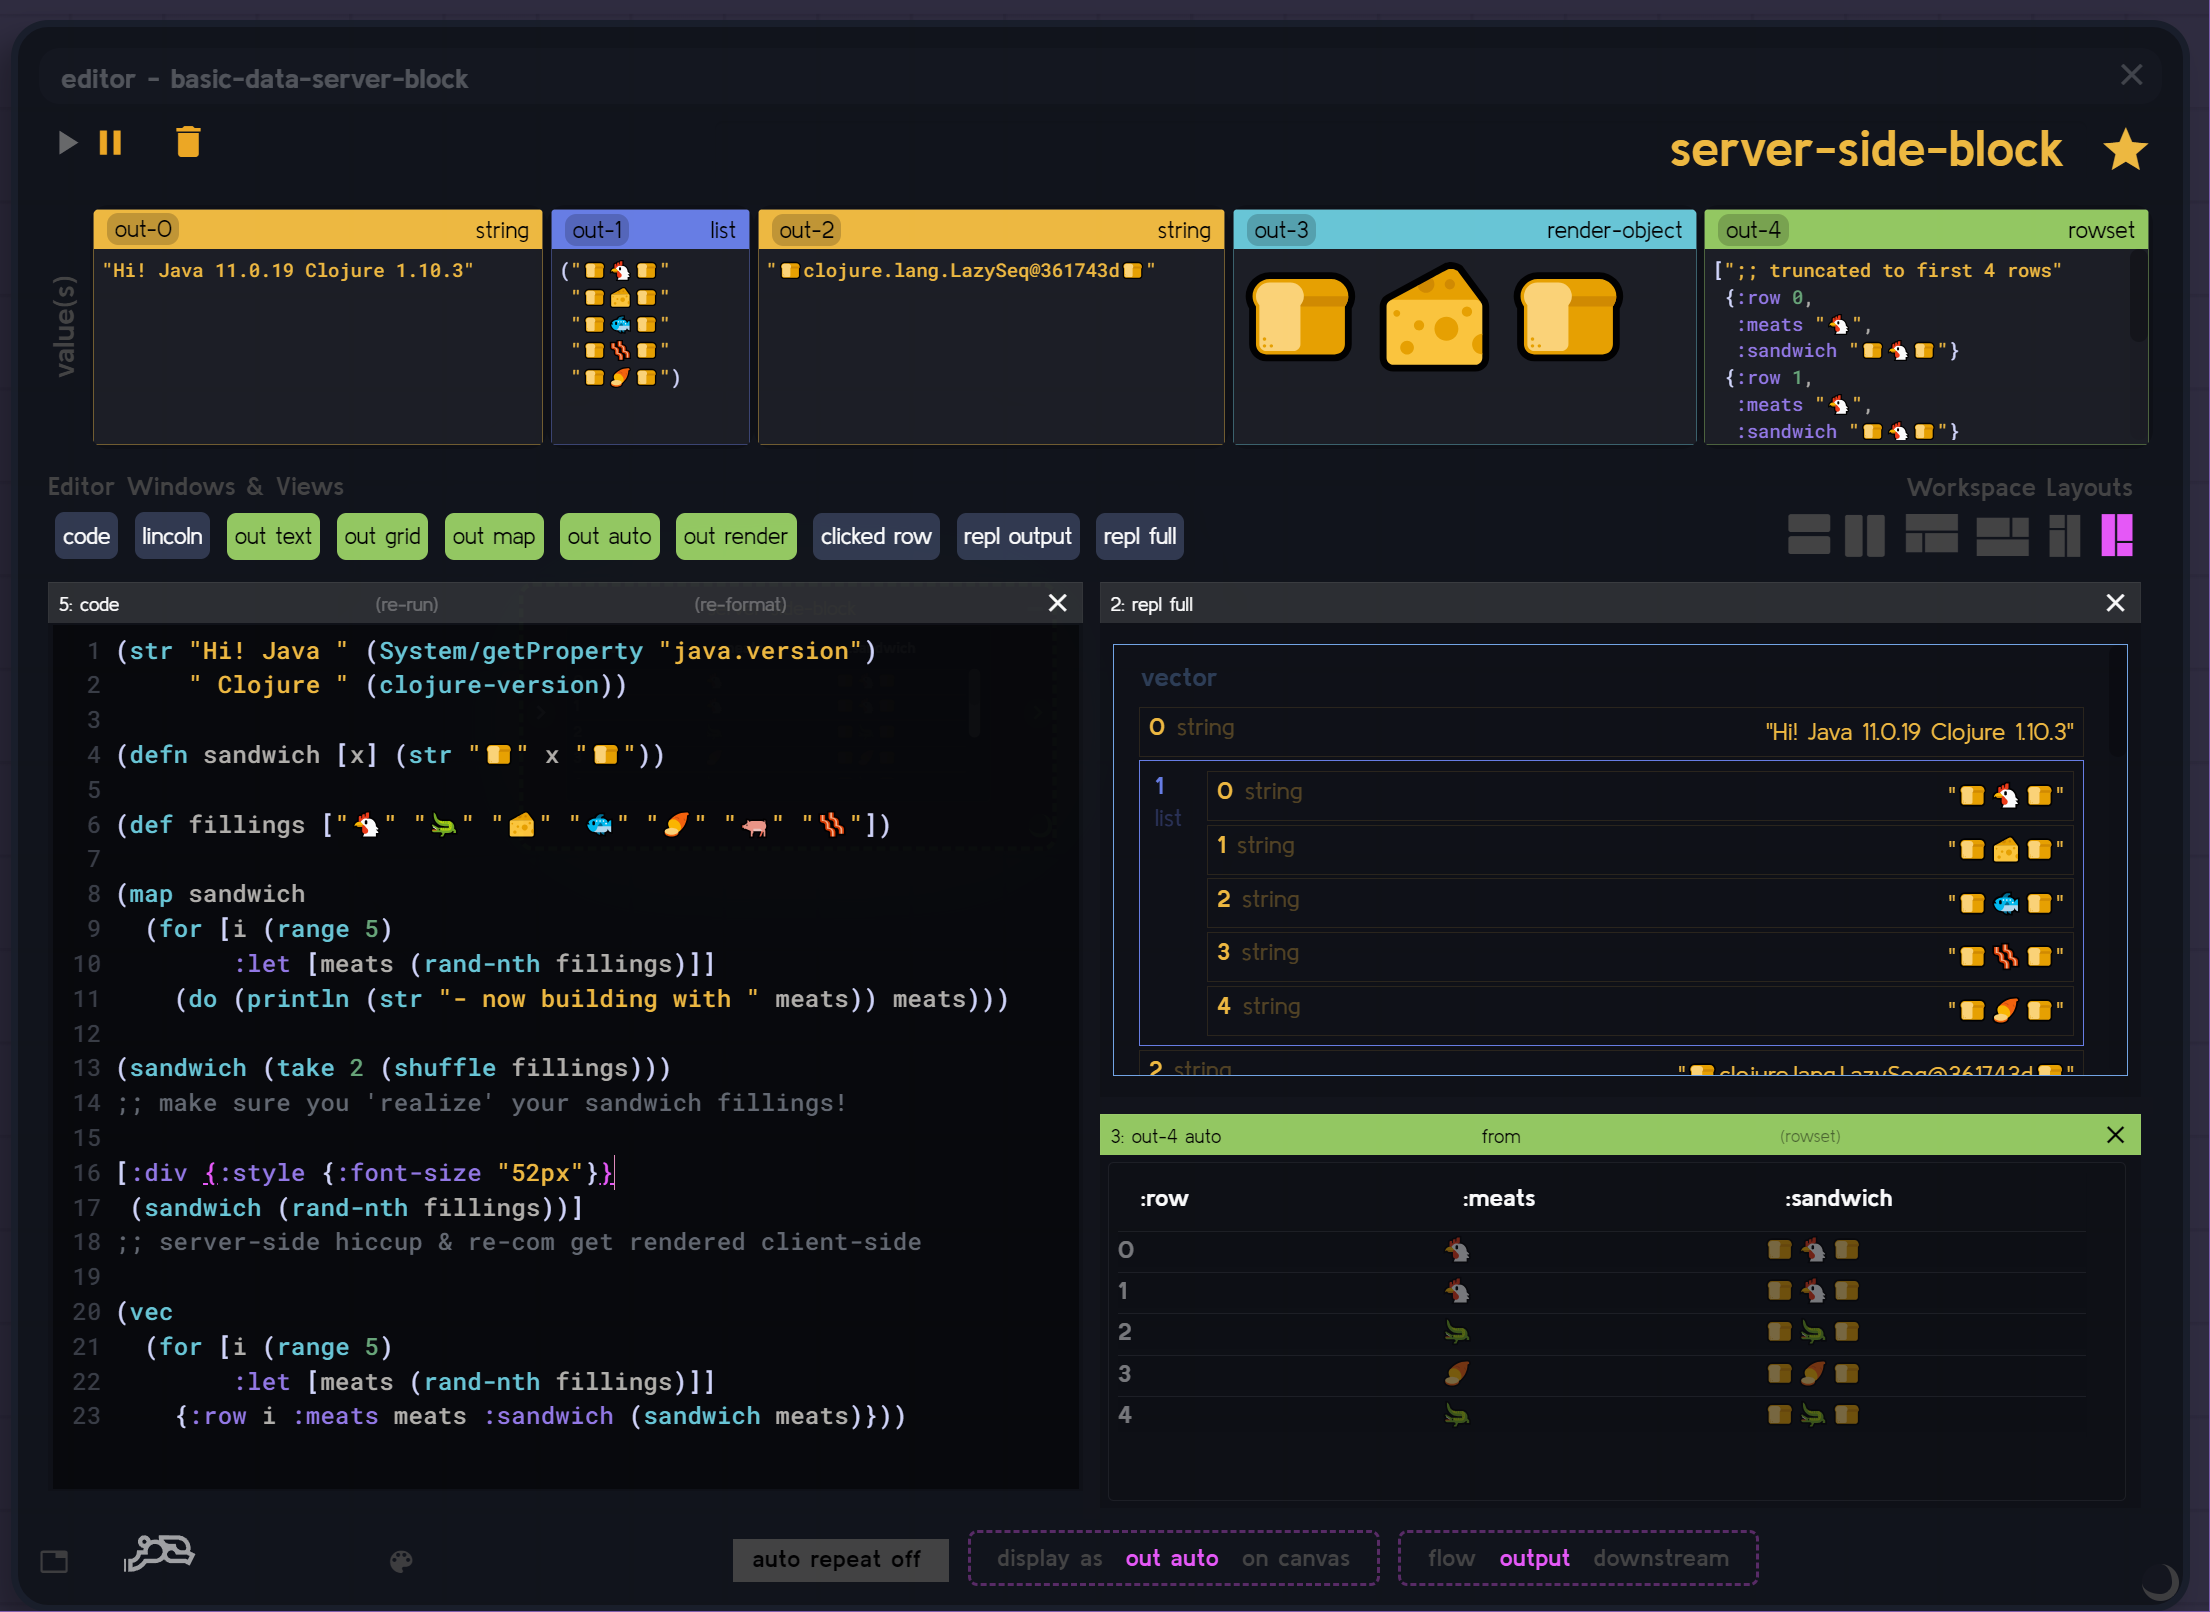
Pulling apart the various CLJS block calls it is built with (HTTP calls and using an Atom for "flow-state") is beyond the scope of this post - but my next post will go into these things in depth. I just wanted to use an example that wasn't simply "Hello World".
Feel free to play with the example here (remember to close the left-side panels to un-clutter the UI with Shift-Q, Shift-F once it loads and then maybe hit space, drag and zoom the flow to center in your screen, then hit space again to stop pan/zoom mode) as I discuss it.
https://app.datarabbit.com/#/wow/woooowah/owen%20wilson%20wow%20API-movie%20list
please paste it, Ghost ruins my URLs w ?ref=garbage when I link it 😠
Ok, so here we have all our little pieces of our flow that we wanted and are ready to put it all together to present. Send to a co-worker, maybe share a dashboard, etc.
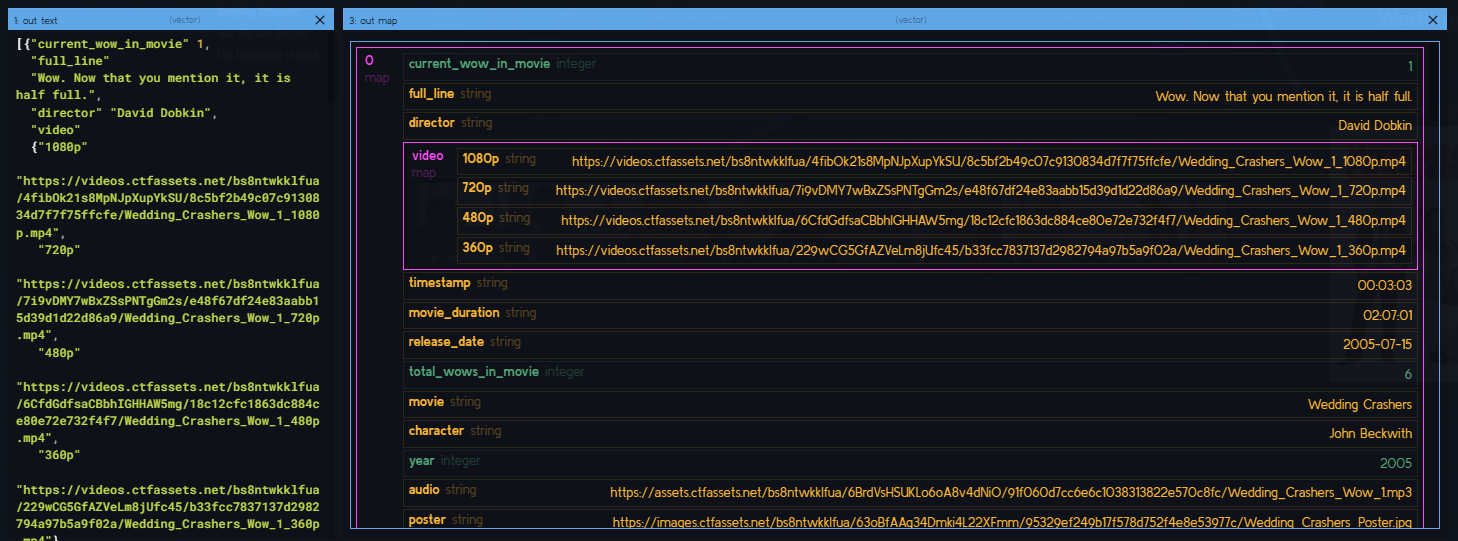
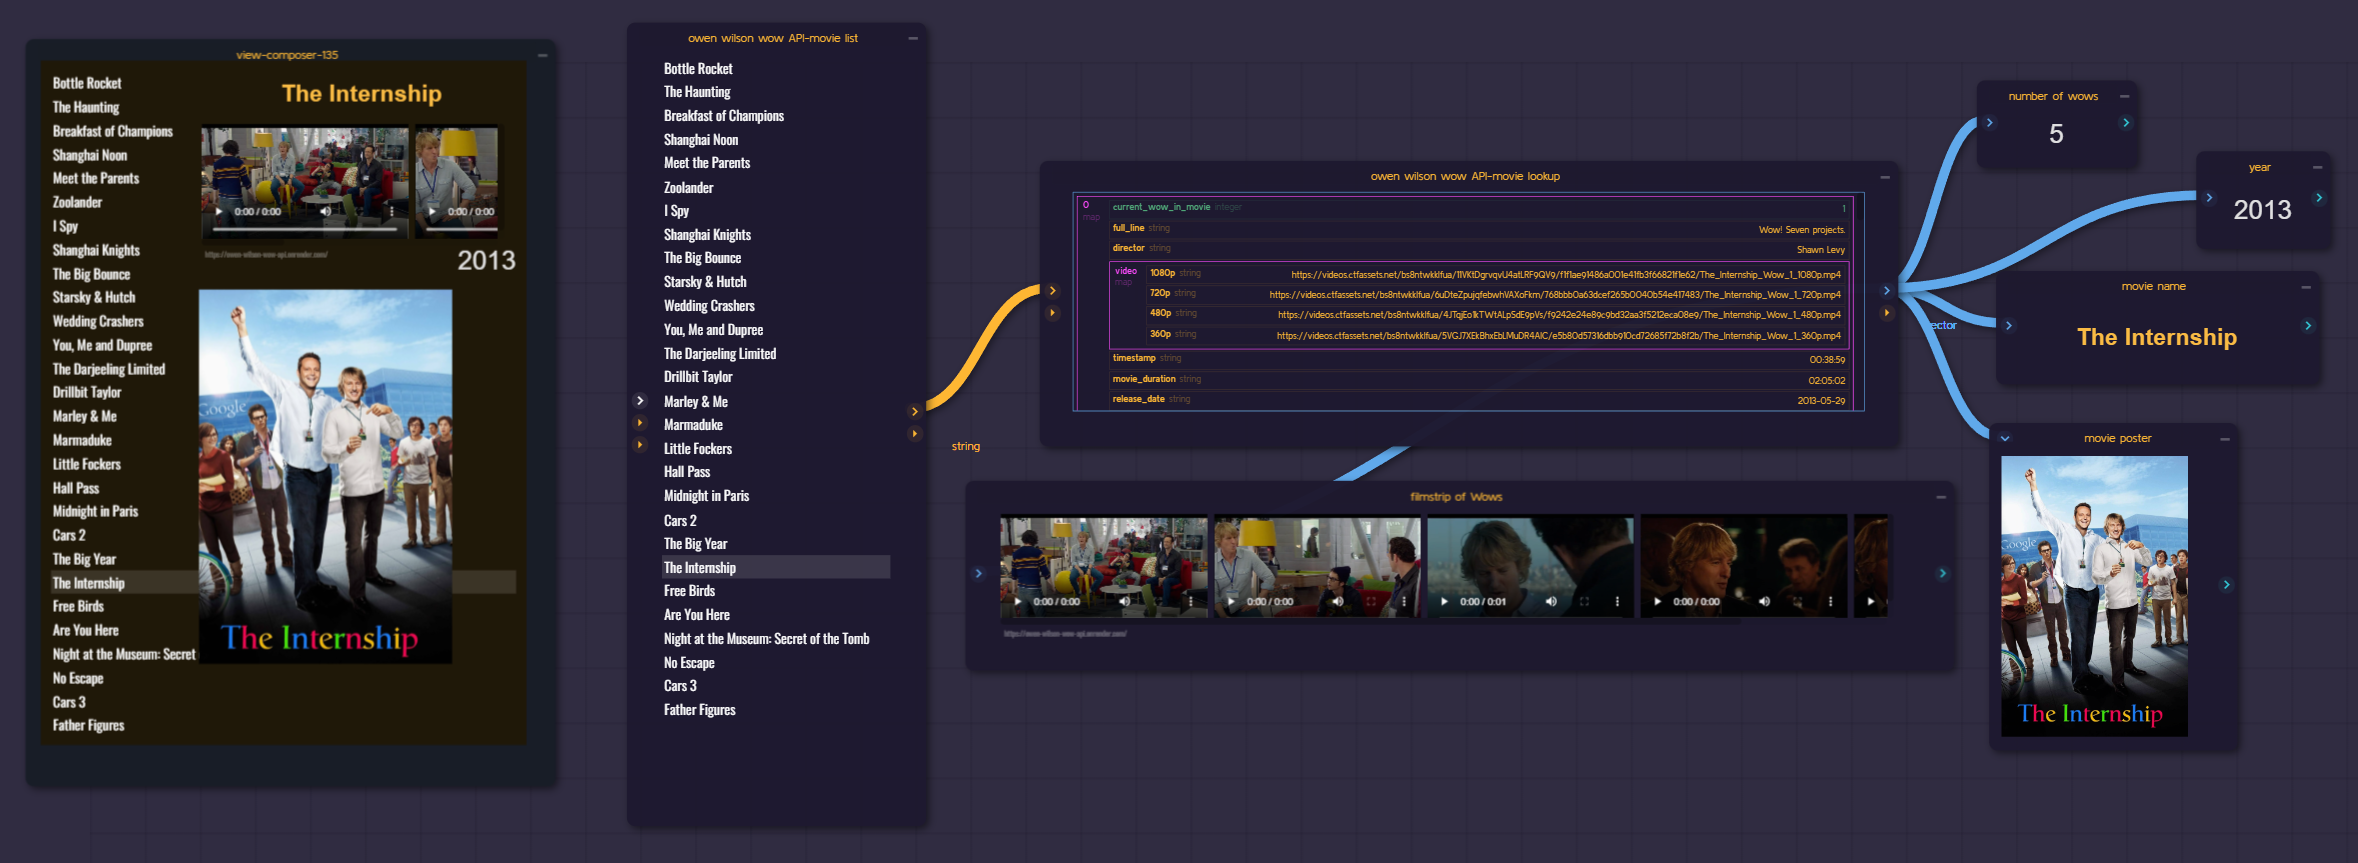
Looking at the flow we've got these blocks:
- A Movie Menu with a List of the "Wow" Movies
- An API Map response from the selected movie
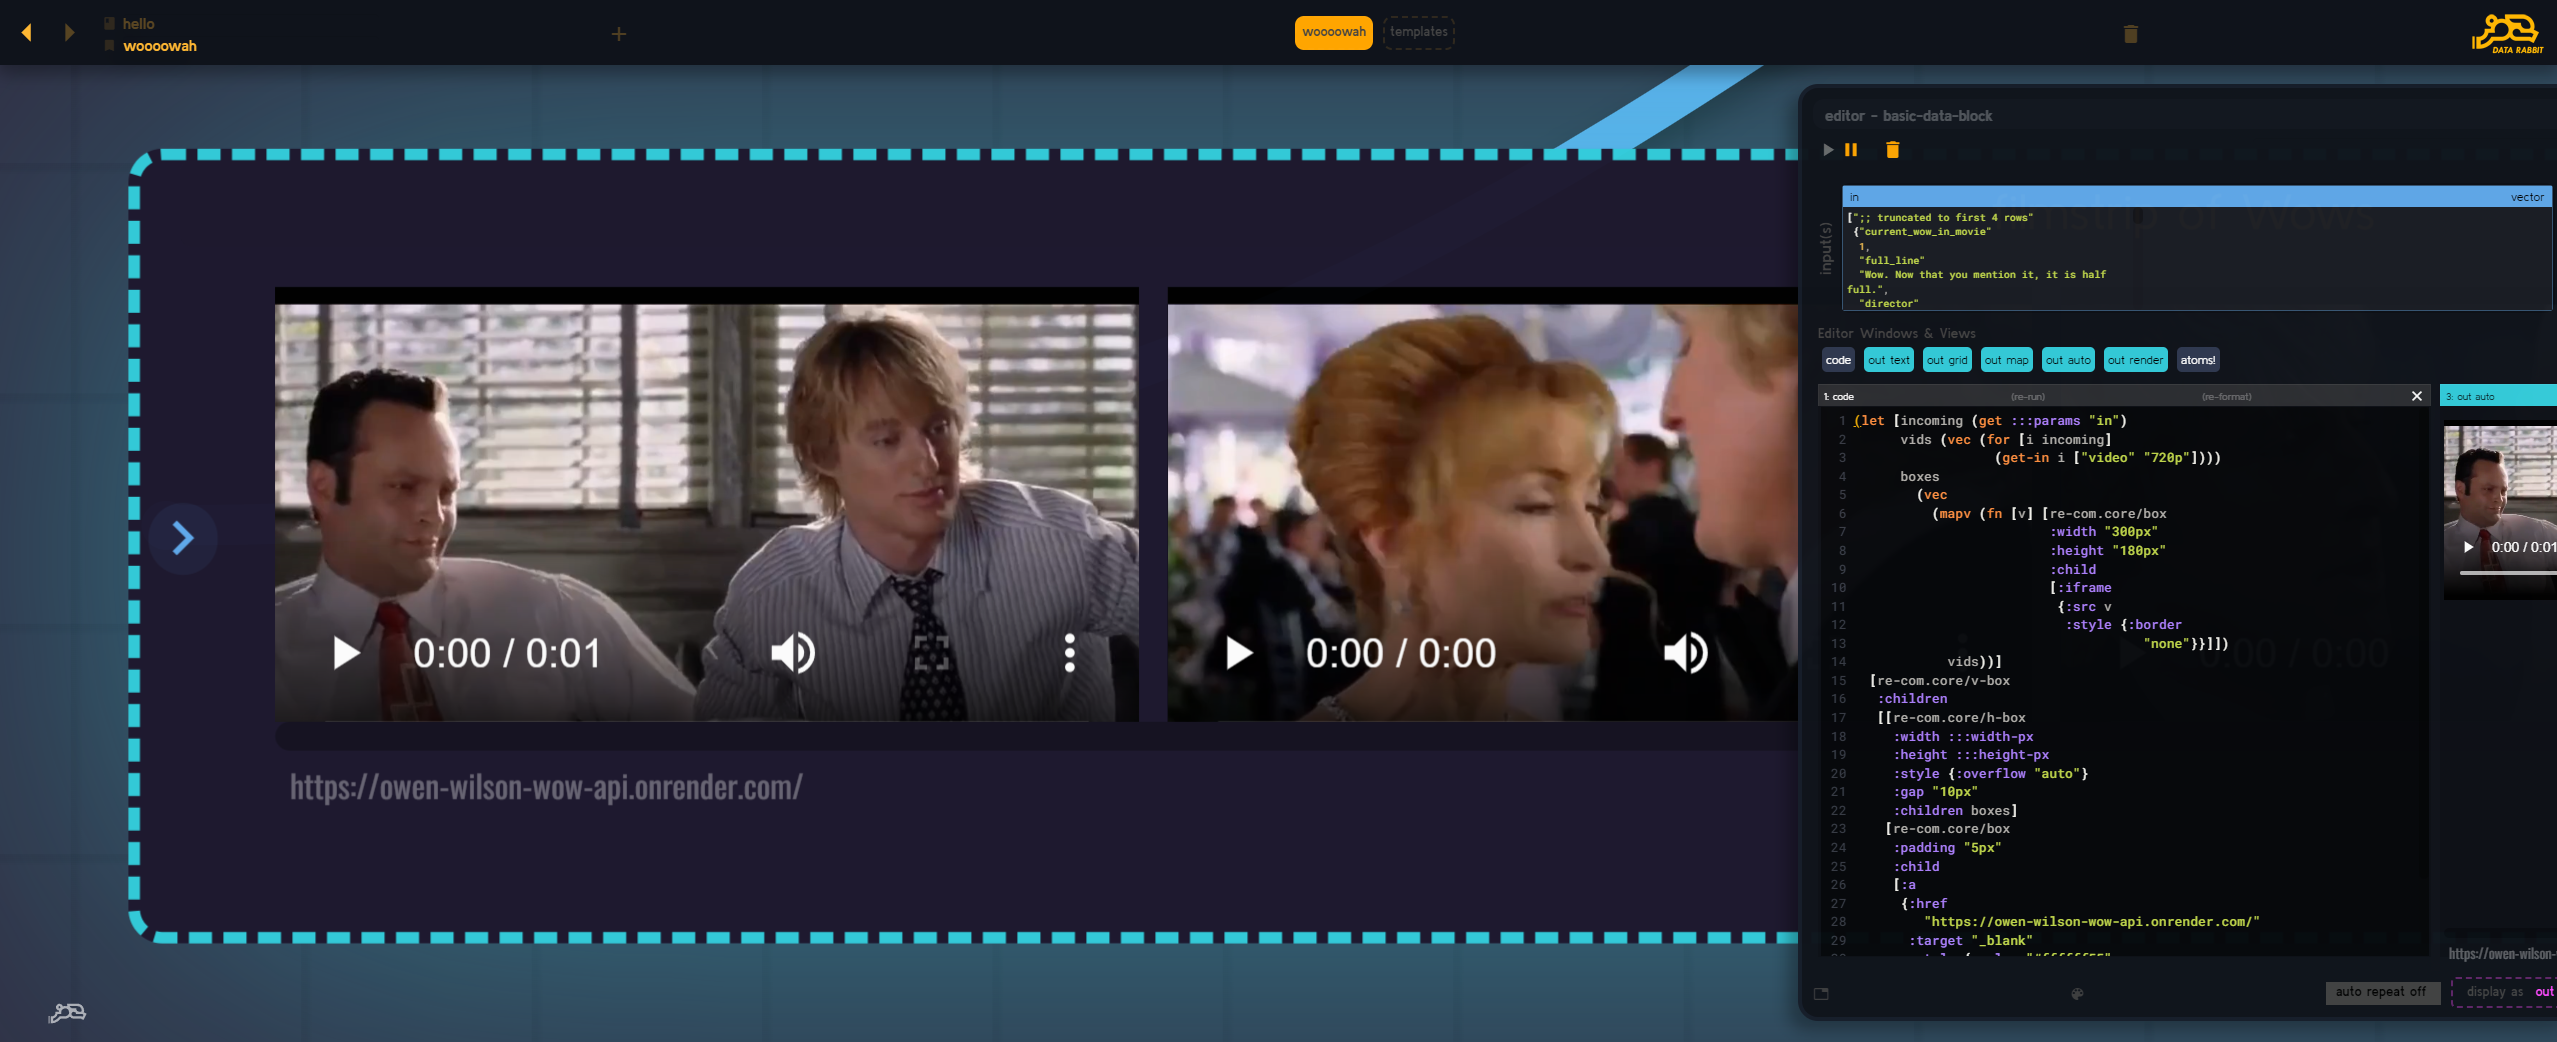
(using the selected movie from the menu) - An vertical set of boxes with all the clips of "Wow" from the selected movie (pulled from the API Map block)
- A simple image of the movie poster
(pulled from the API Map block) - The count of Wows in the selected movie
(pulled from the API Map block and counted) - The name of the movie
(pulled from the API Map block) - The year of the movie
(pulled from the API Map block)
Great. All the things we need to put together.
See the Rabbit 101 tutorial post to see how easily a Map like this can be pulled apart into child blocks - it makes carving up API responses a delight.
How do we do it?
There is a special Rabbit block for just that purpose! Let's go to the Block Palette panel (Shift-A to hide/unhide it) and drag a "view composer" block on to the canvas.
View Composer blocks are meant for "assembling" existing block outputs into a single "viewer" block. There they can be wrapped with extra CSS, display options, and resized - but the underlying block code will be unchanged.
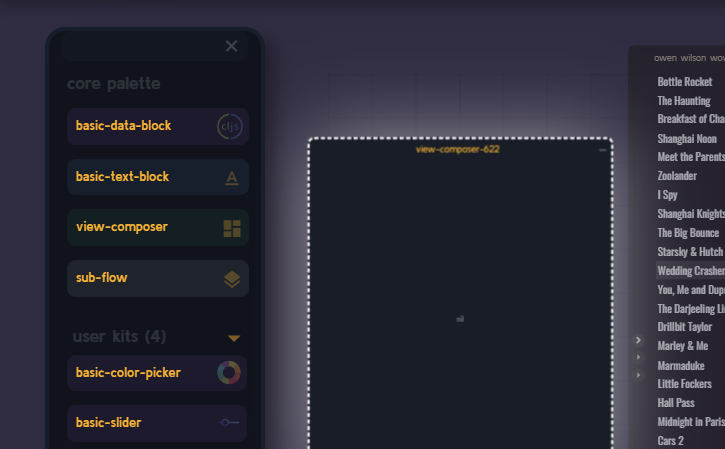
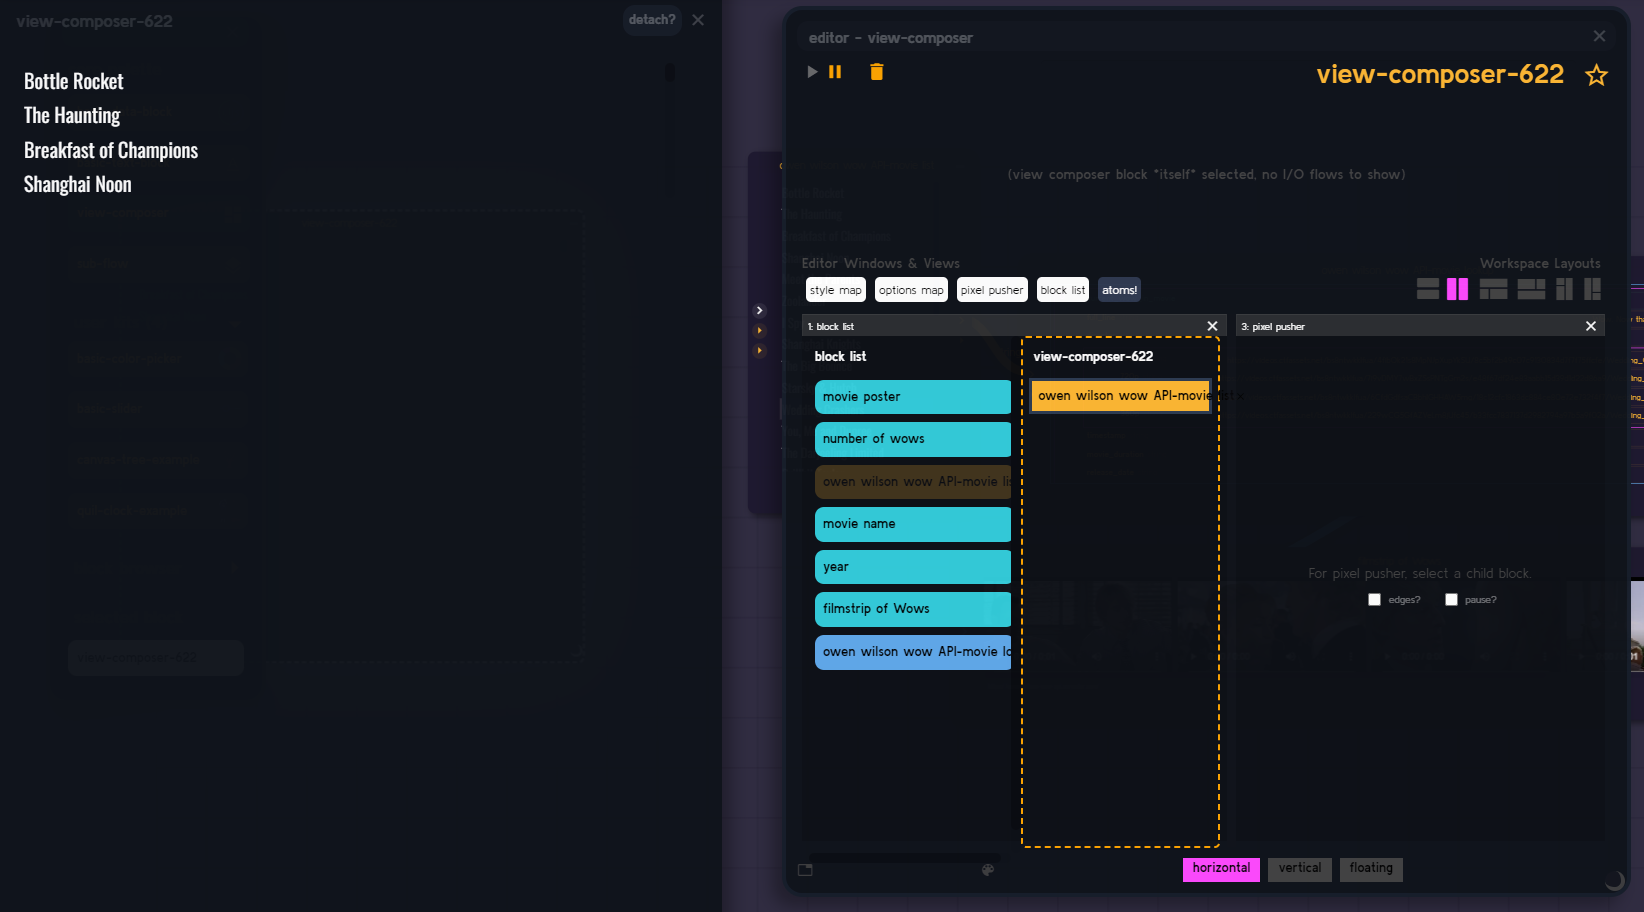
Once our new block is on the canvas, select it and check out the editor panel (Shift-D to hide/unhide). Let's look at it in its blank state.
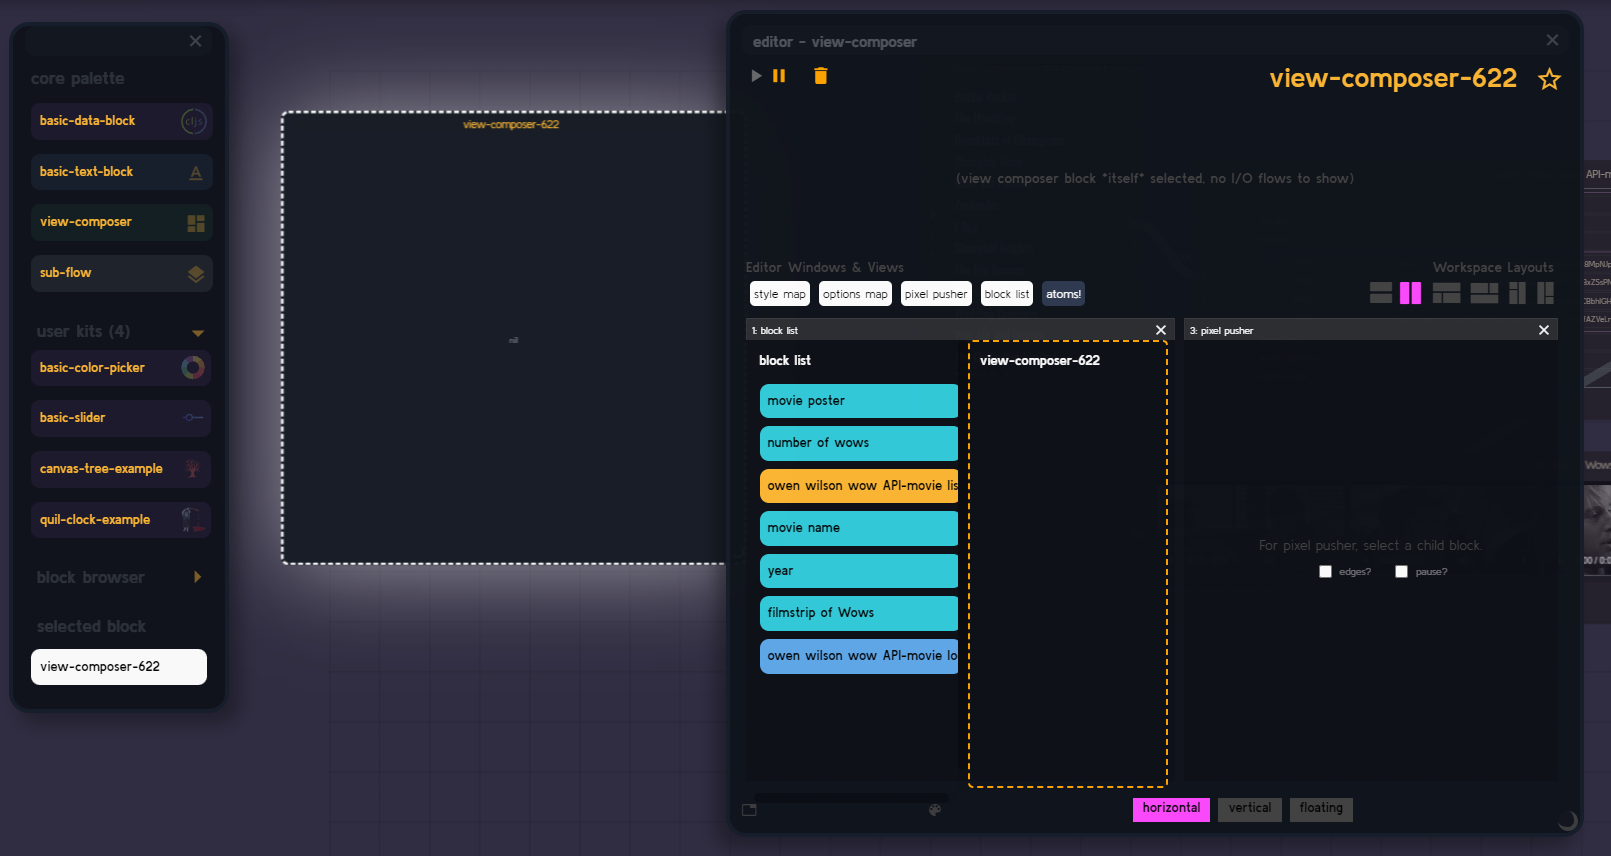
As we can see, the editor pills available are different than a regular REPL block.
- Block List - List of blocks available to use from the current flow, as well as a second column (on the right) showing the ones currently being used in this View (empty at the moment since we haven't adding anything)
- Style Map - CSS Style Map for the wrapping of the selected block / parent view block. *optional
- Options Map - Similar to the Style Map, these are Re-Com options that can be added to override default wrapper options. *optional
- Pixel Pusher - Easy way to move the selected block, plus provides some options for the editor to make things easier.
With the view composer window selected, lets open the Preview Panel so we can see the view at 100% regardless of the canvas zoom (plus it makes the viewer easier to manipulate). Hit Shift-F to show the preview pane.
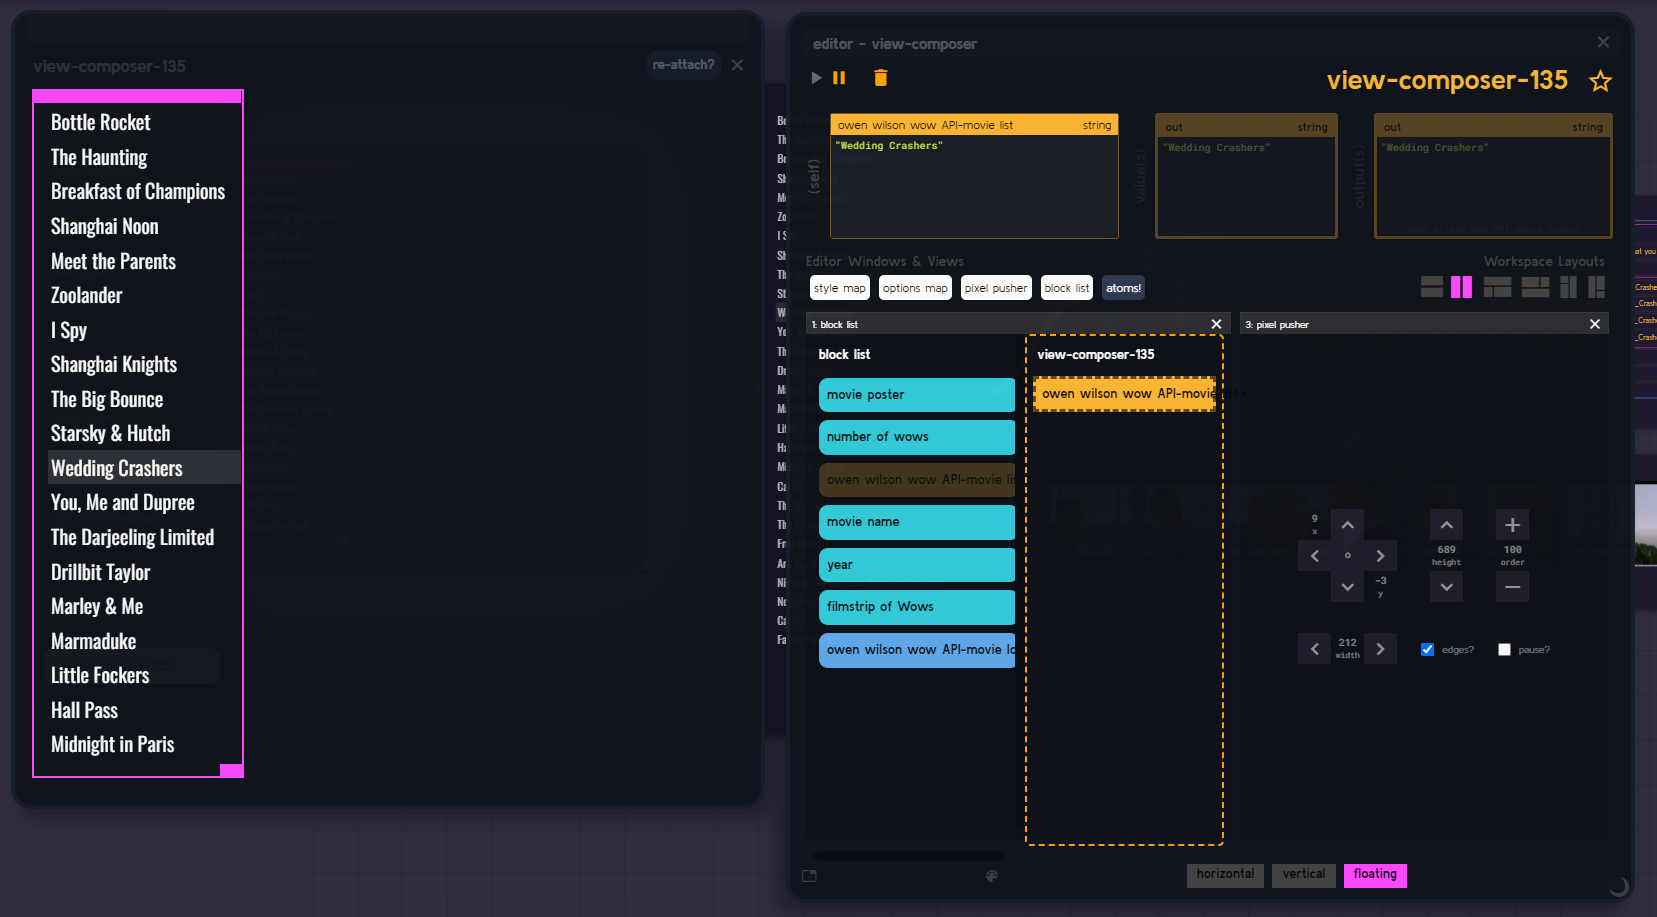
Ok, so the first thing we want in our view is the Movie List menu. Lets drag the "owen wilson wow API-movie list" pill over to the empty column on the right.
Note: Depending on your screen set up / resolution etc - you might notice that hovering over the potential blocks to use will actually highlight them on the underlying canvas to better understand what we choosing from.
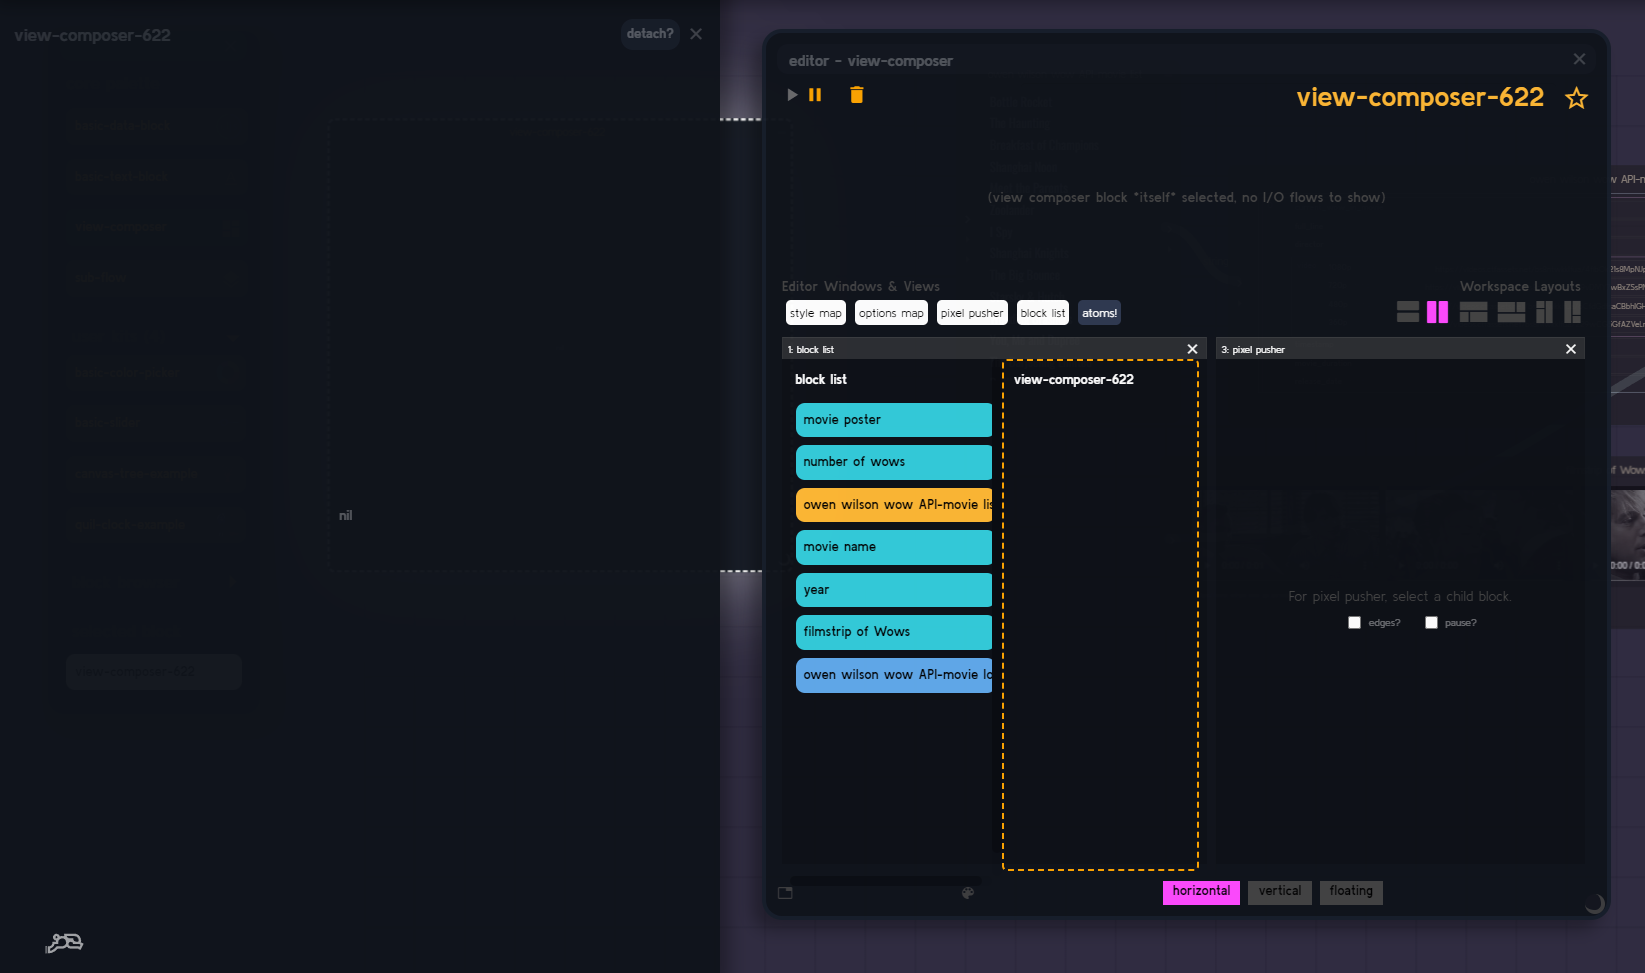
Now we can see that our block output has been added, but it looks a little odd - let's check the "edges?" checkbox in the pixel pusher editor panel on the right so we can get a better idea of what we are looking at.
Notice that there is now a dashed outline around our inserted block output.
The default layout mode for view composer is "horizontal", so it's trying to save space and cutting off the bottom portion. Let's look at layout modes next.
There is a row of pink and gray buttons at the bottom of the editor panel.
Note: In regular code / REPL blocks these are drop targets - but in composer mode the are simple buttons.
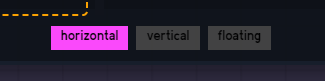
Click on the various modes and see how our Preview Panel changes.
Horizonal and Vertical modes will stack up the blocks in the desired orientation - this is useful when you are adding composers to composers to composers - but today we are going to be using the floating layout, so let's keep that one selected.
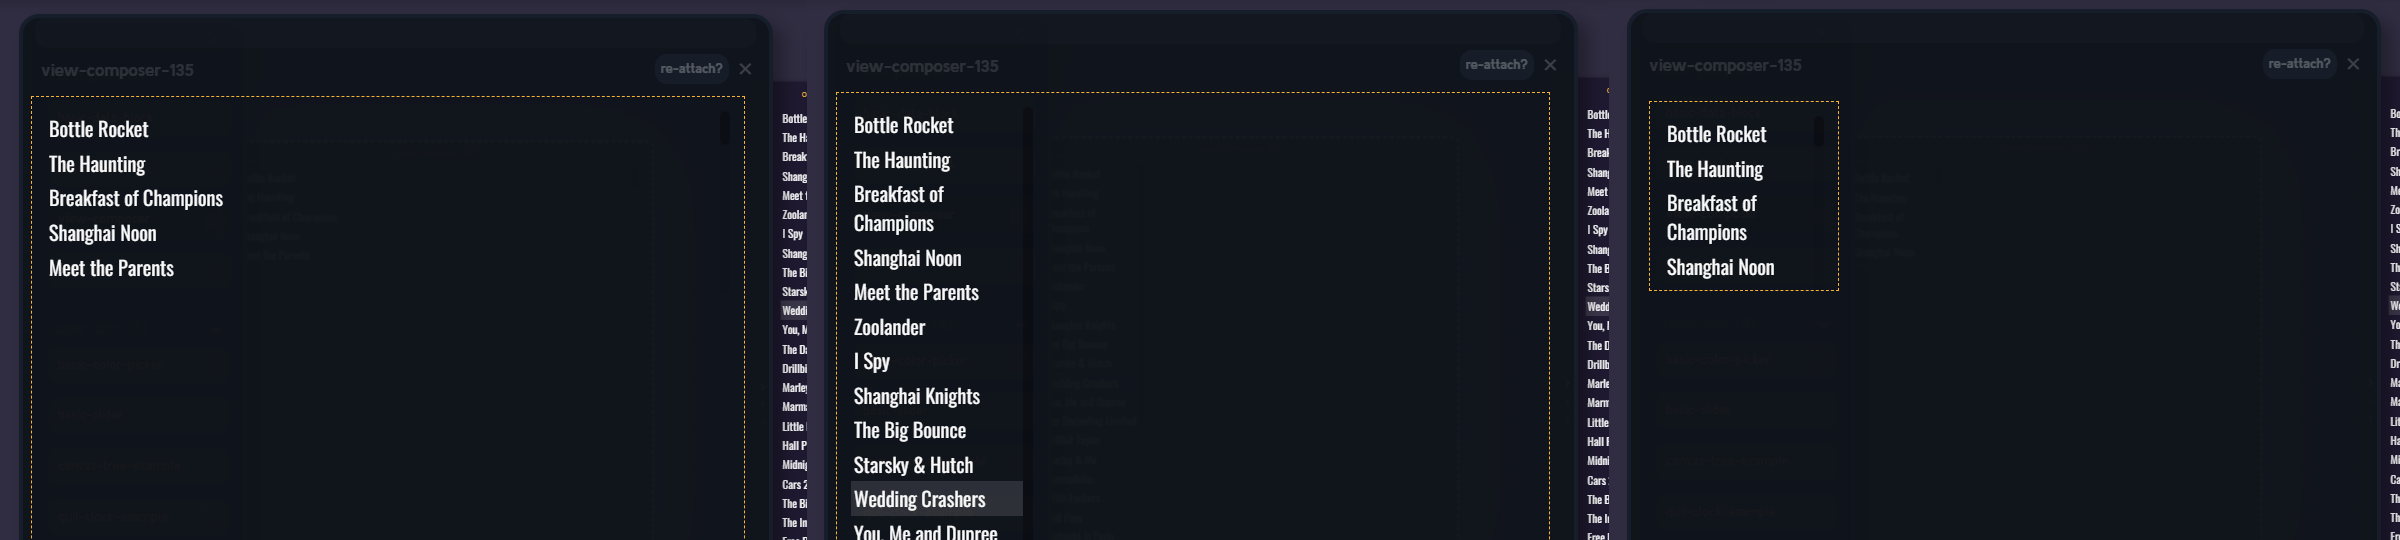
Floating layout gives us the ability to manually position each block inside our view. Remember that "movie list" pill we dragged into the views column? Click on it to select it.
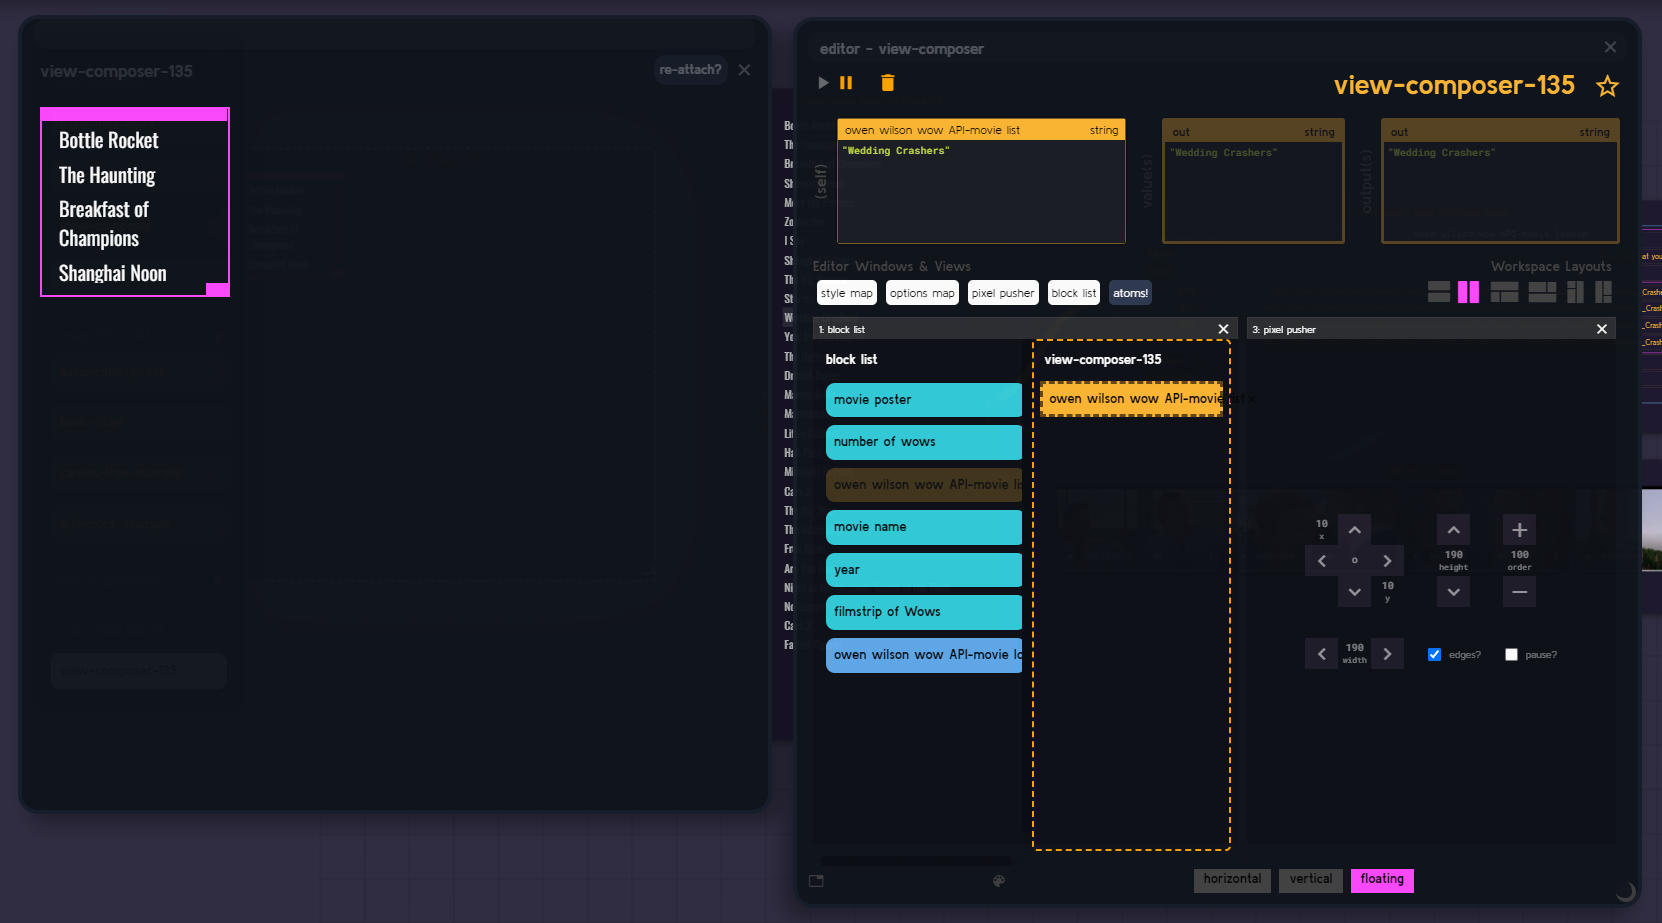
Now we see that the block itself in the preview box has a resize and drag handle - and the editor panel now shows the x, y, height and width values to tick back and forth (for pixel by pixel changes).
We are now free to manipulate the movie list as we see fit.
Let's drag in a few more blocks and arrange them.
Note: If your "Viewer Canvas" is too small go back to the flow canvas and resize it, the Preview Panel will expand to match it.
Now we're talking!
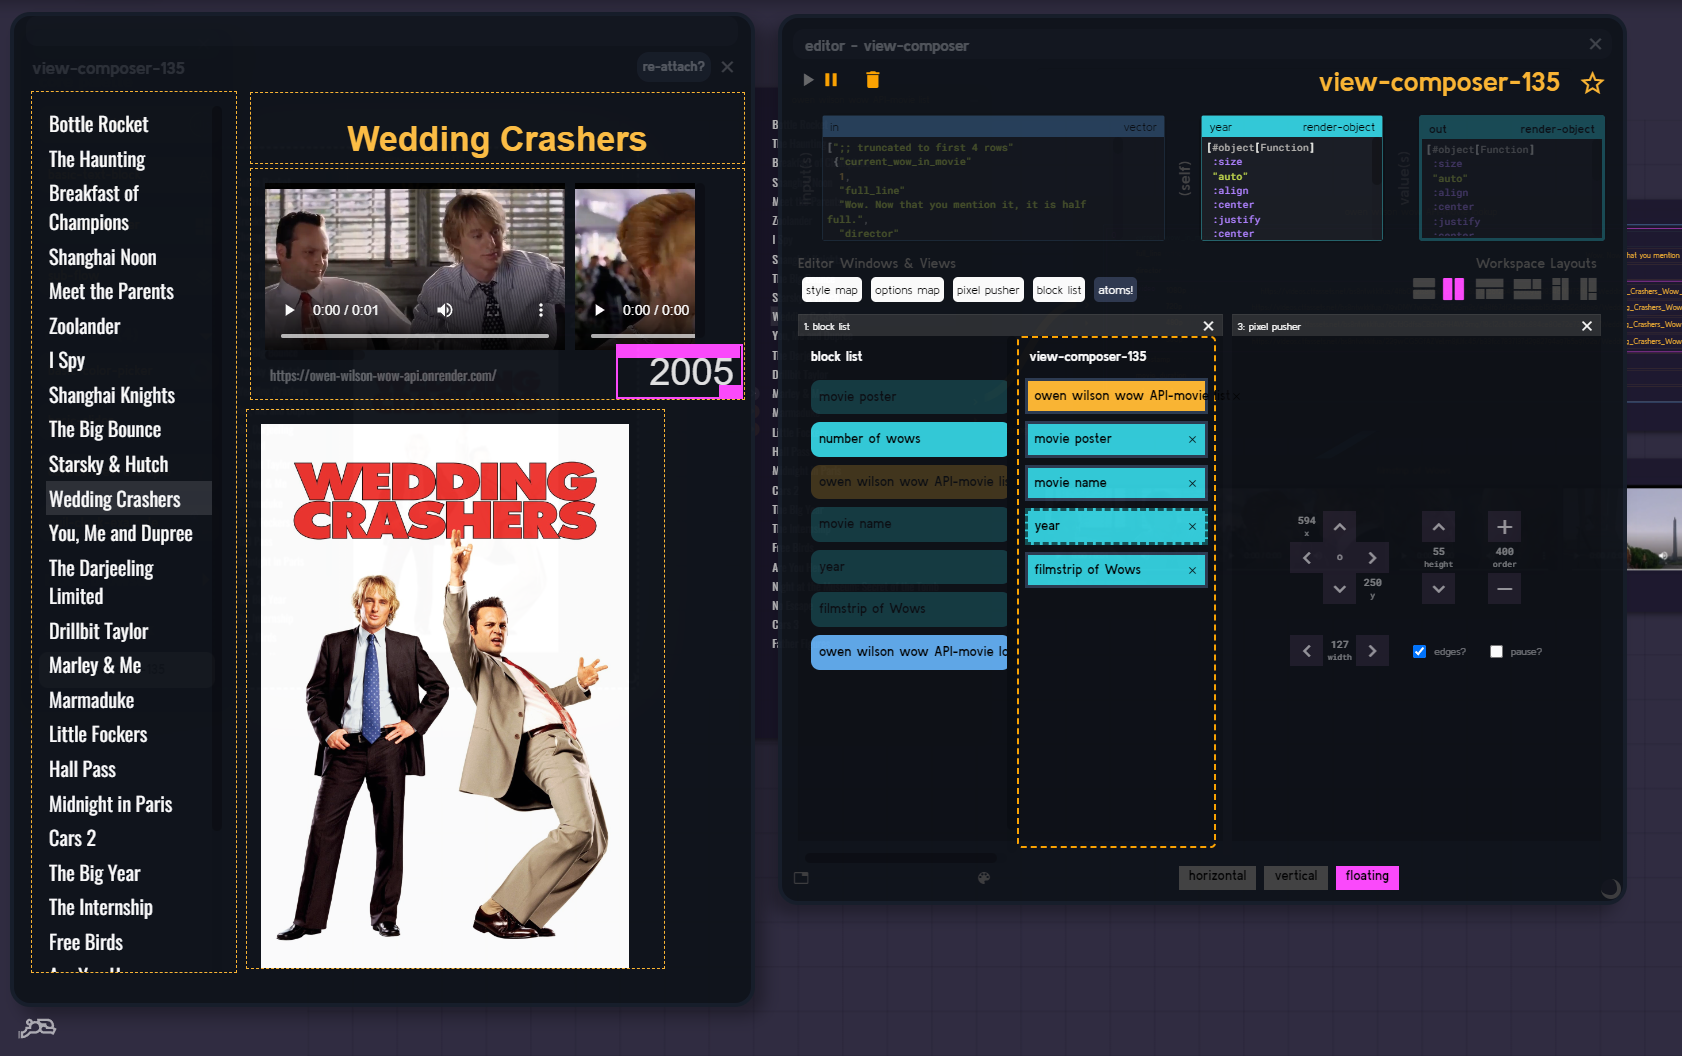
Notice with the floating layout we can freely overlap blocks - in order to make sure that things are in front of or behind (layer depth) - it will follow the order they are in in the second pill list.
*Note: Ordering is first -> last. So the top most view block is actually on the bottom.
In horizontal and vertical mode, this is used for the order of the blocks.
Maybe we want to override the background color of the Movie List menu and use it as the background for the whole view.
In the editor panel, drag "style map" in to the right hand side target that "pixel pusher" is currently in.
Select the movie list view block - and add this to it's style map.
{:background-color "#a3a3a3"}Also, let drag out the Movie List block to take up the whole viewer space (this way we can use it as a background color as well and utility the floating layering system.
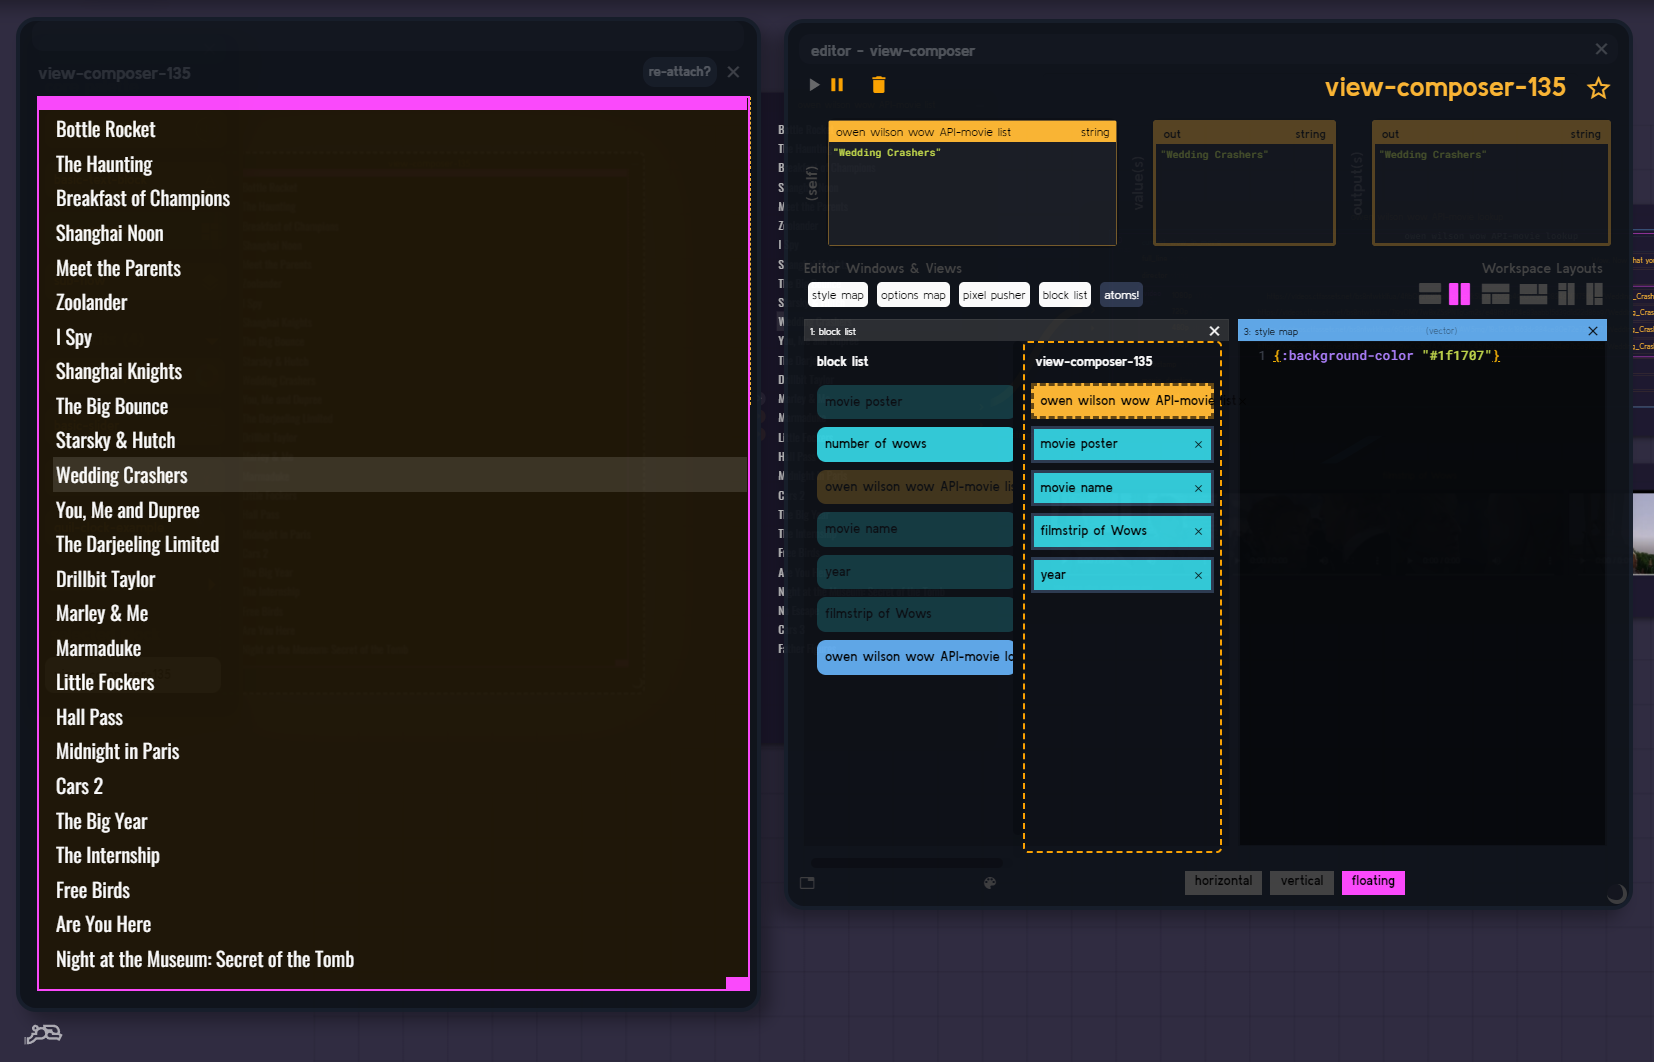
Note: When a viewer block is selected it will ALWAYS be on top of everything else regardless of where it is situated in the view block pill column.
Now un-select the view block pill by clicking on it again, so we can see the layering as it should be.

Note: When no view blocks are selected, the style map / option map applies to the overall parent view as opposed to a single view block.
Let's turn the grid outline off now so we can see what it looks like. Drag the "pixel pusher" editor panel back into the editor to replace the "style map" and uncheck it.
Now we can see and interact with the viewer block as it is meant to be. Each change in the menu executes a new API call and then (based on the flow) all the blocks update.
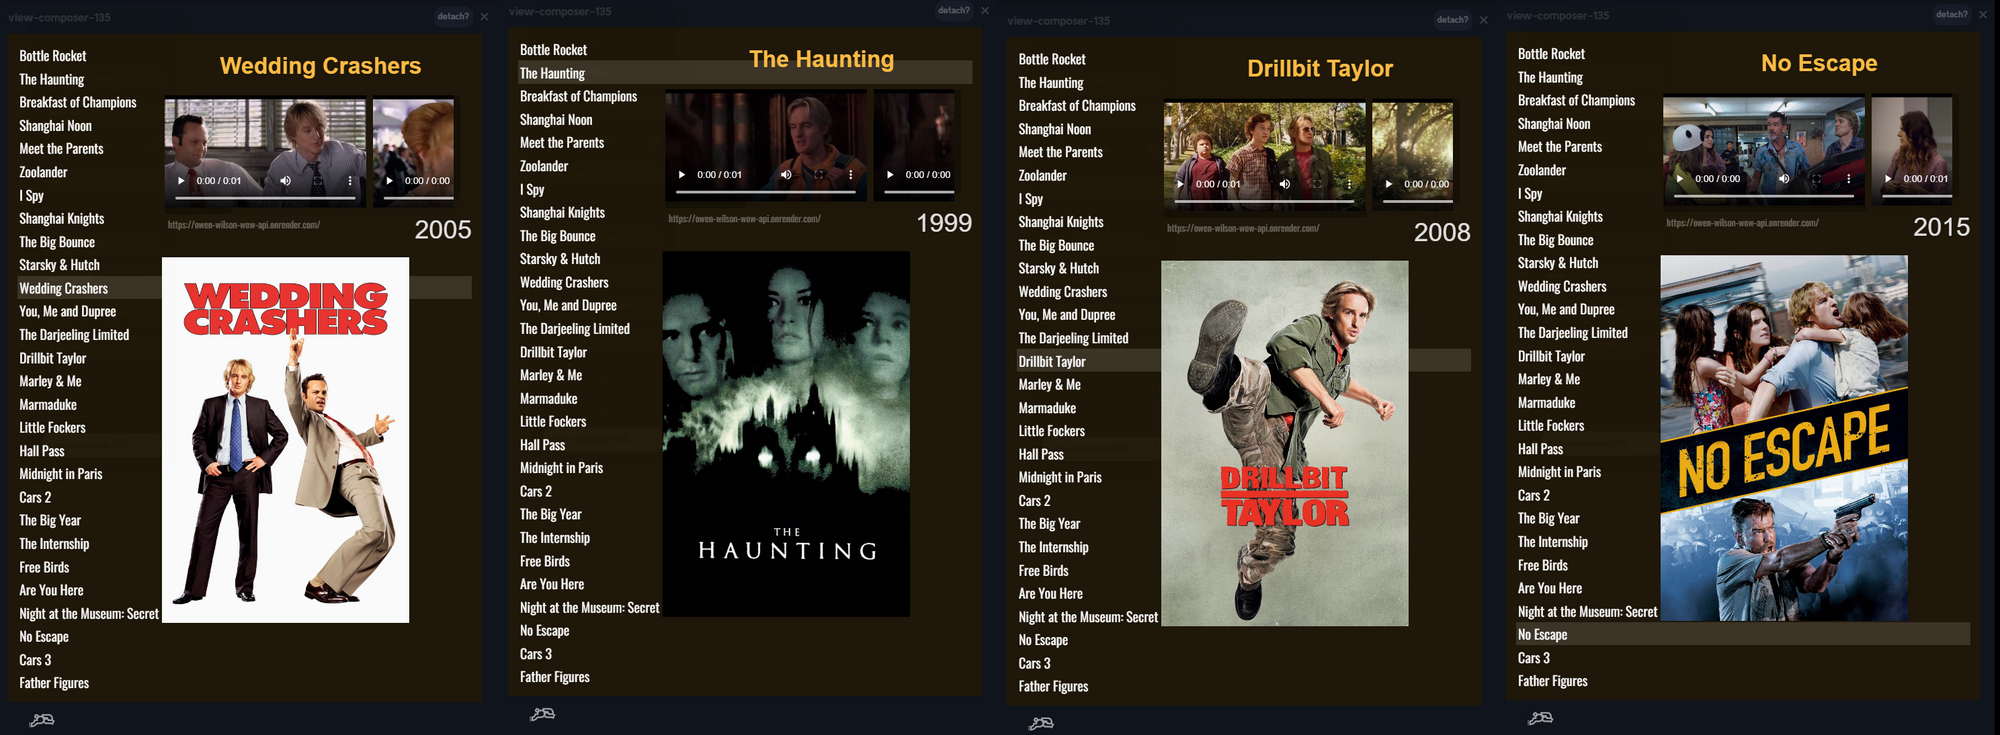
Interesting. So now do we not only have the logic and data flow of our app, but we have the assembly of those pieces into the user facing view.
This was a very simple (and kind of ugly) example, but hopefully it gives you an idea of the kind of flexibility I'm trying to achieve with Rabbit.